One day, as I was browsing Pinterest (what else is new?), I saw someone had pinned some "Composting 101" tips. Me being the Suzy Homemaker Martha Stewart wanna be that I am, I figured, why not find out more about this magical dirt-making process. As soon as I saw how easy it looked, I HAD to try it. With me being more conscientious and all, this was right up my alley! So, I begged my husband to come with me to Home Depot to get all of the supplies (Just kidding--what man do you know needs to convincing to frolic in the manly playground that is Home Depot?).
Here's what I got:
1 orange Home Depot bucket with cover
2 Rubbermaid garbage bins (only because they were on sale for $14 for 2. Who could say no to that??)
2 12" bunjee cords
That's all you need!
Before I go further, let me give you a little crash course in what composting is. Veggie/Fruit Scraps. Dry leaves/paper. Heat. Moisture. Time. BOOM, Composting.
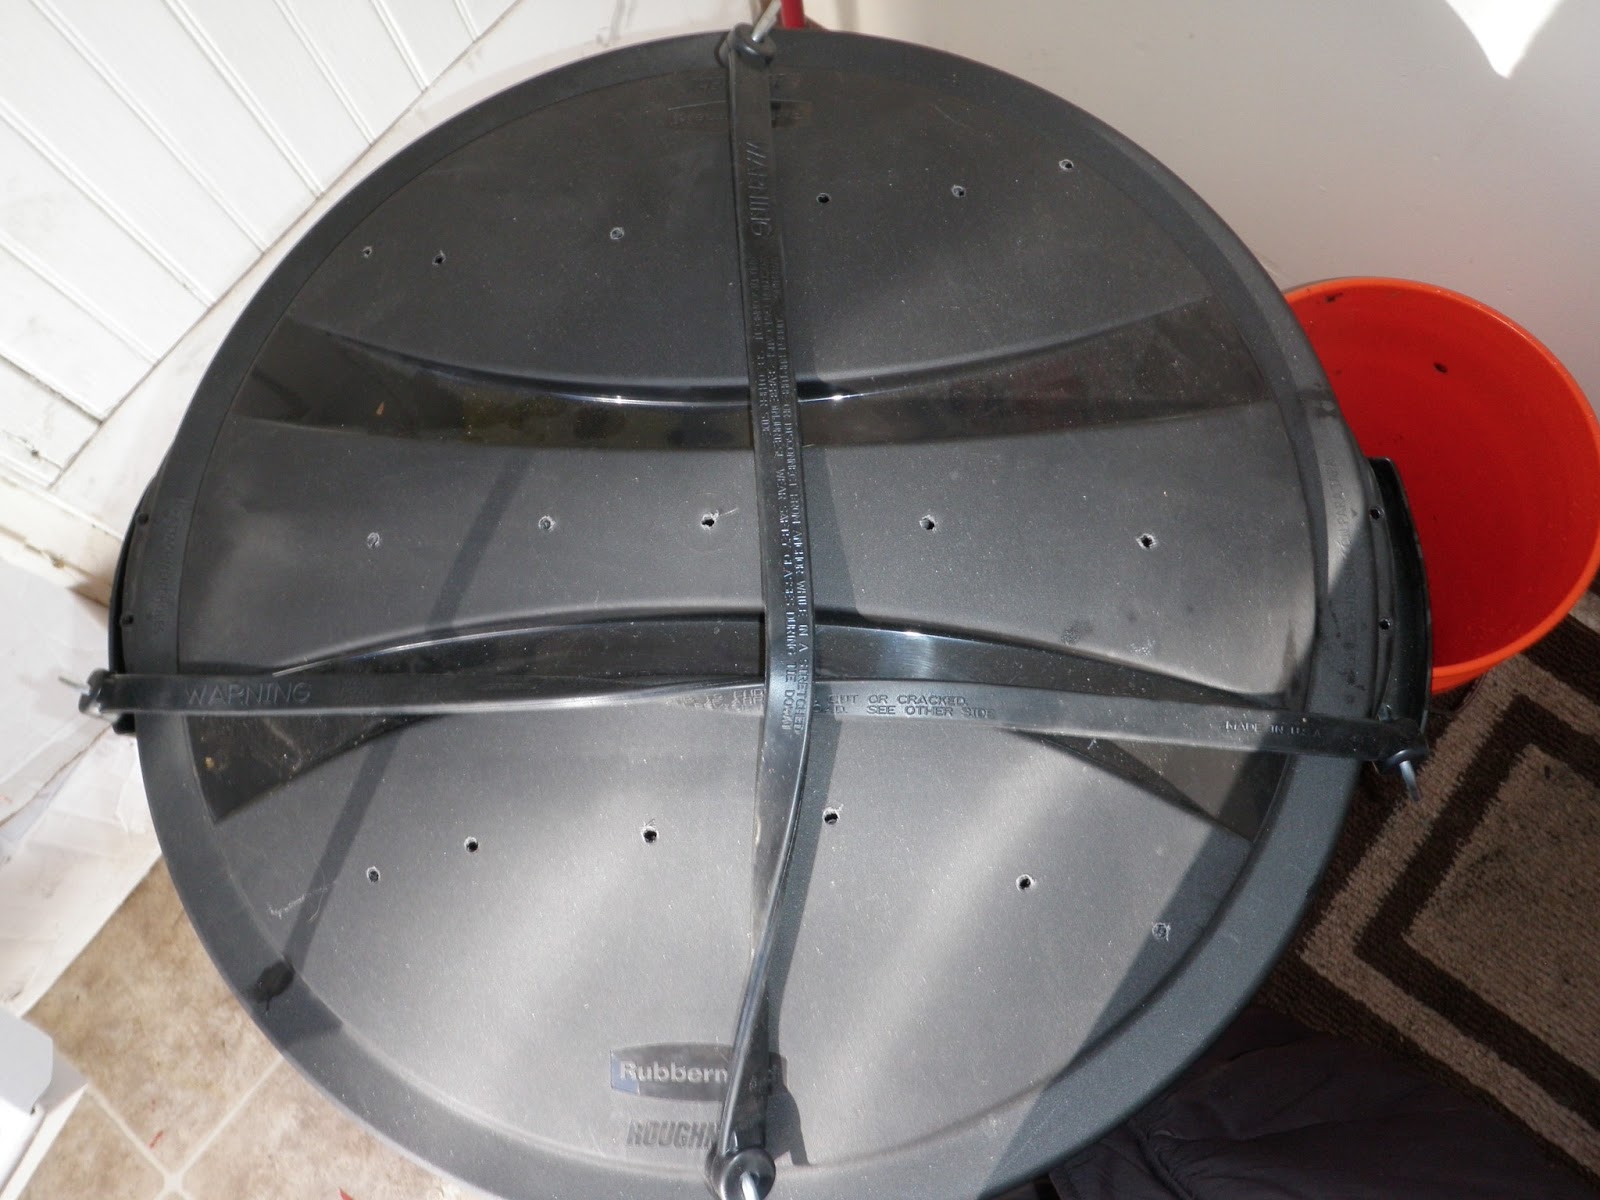
Now that you have your composting degree, let's keep it moving. Next, I used a power drill to make holes in the "sides" and top of one garbage bin so that my impending compost pile would be nice and aerated.
 |
| You have no idea how long it took me to figure out how to change the drill bit size. But I was determined to do it before my husband realized I was struggling. |
Next, I used the bunjee cords to secure the lid to the bin.
In the other bin, I began to gather my "brown" composting items. This consisted of shredded newspaper, shredded cardboard, an old t-shirt (torn and shredded)...oh, and my entire Christmas tree. By the time I was done ripping up and shredding all the brown material, my hands were dryer than Gandhi's sandals, but this is why God invented lotion.
 |
| Ok maybe not my ENTIRE Christmas tree, but just the leaves. |
Over the next week, I collected all my scraps from the cutting board, salad that went uneaten at dinner, onion peels, fruit peels, used coffee grounds, used tea bags, corn husks, etc. Here's a nice comprehensive
list of green and brown items you can compost. I was
really surprised at the amount of space I saved in my garbage bag by collecting veggie and fruit scraps!
 |
| Just one week of green item collection |
Before you just dump everything together, it's important to know that a certain ratio of browns and greens is desired in order for the bacteria to break down the composting items into dirt. From many of the sites I read, a 1:1 ratio is fine. Some even spoke of a 1:3 green to brown ratio. I chose to stick to a rough 1:1 estimate. We'll see what happens in time. I made a thick "bed" of dry brown items at the bottom of the compost bin (the one with the holes and bunjee cords), then added my green items. On top of that, I added some more brown items, mixed it all around, then sprinkled some water to the mix. I'm about 80% sure I did this wrong, but after some Googling, I saw that I was ok for the time being. The next time I add to my pile, I'll sprinkle some water on top of each layer of items. After everything was all mixed up and sexy, it was time for the fun step.


My puppy went nuts when I was rolling this thing around. And that, folks, is my first composting experience!! Let's hope it actually makes dirt! LOL. I have a tendency to mess things up the first time I try so here's hoping I didn't! I'll regularly post updates on my compost, and whether I'll have some deliciously rich dirt for my veggie garden this summer, or just piles of rotten crap sitting in my yard.


No comments:
Post a Comment